Don't Despair Over Green Gourds: How to Turn Pumpkins Orange with Warmth and Sun
There's nothing quite like the sight of a vibrant orange pumpkin signaling the arrival of autumn, Halloween, and festive gatherings. Gardeners spend months nurturing their pumpkin patches, dreaming of that perfect harvest. Yet, as the season progresses and temperatures begin their inevitable dip, many find themselves faced with a disheartening sight: a patch full of green pumpkins that simply refuse to change color. If you've ever wondered how to turn pumpkins orange when nature seems to be dragging its feet, you're in the right place. The good news is, a green pumpkin isn't a lost cause! With a little understanding of their ripening process and a few strategic interventions, you can help those stubborn gourds achieve their iconic hue.
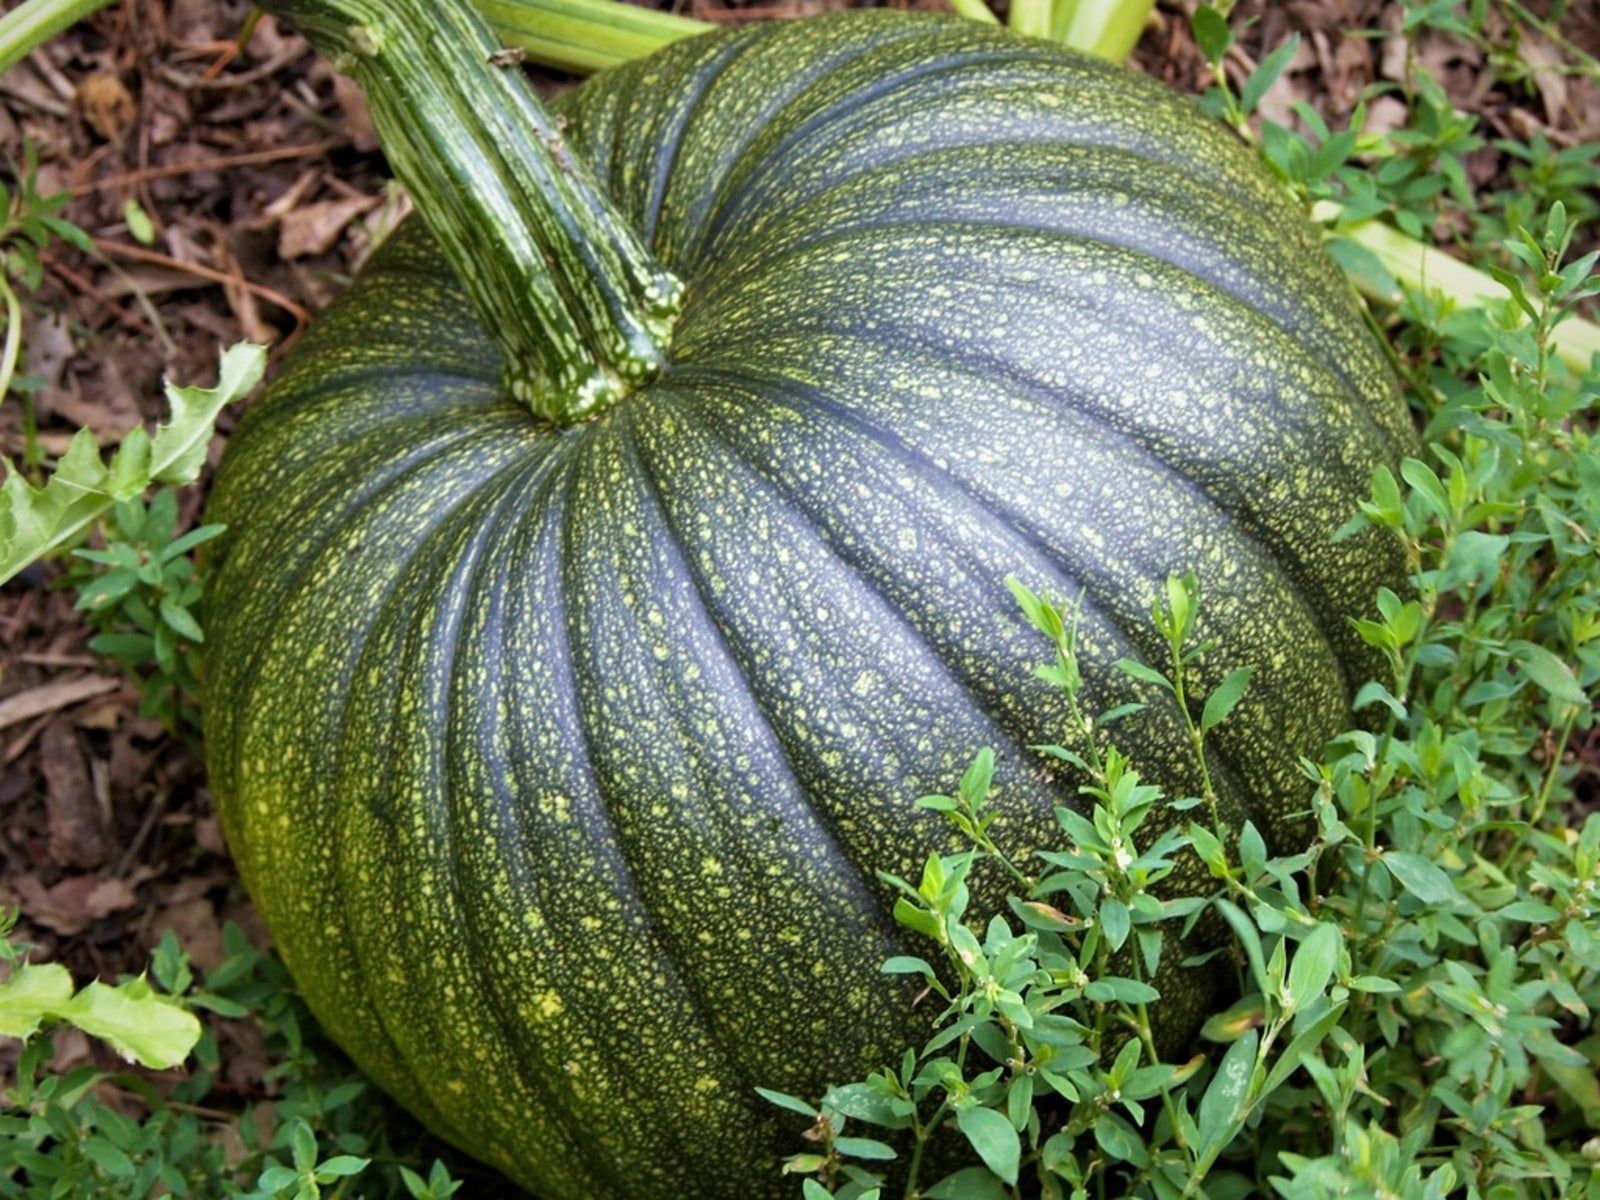
The transition from green to orange is a natural biochemical process where chlorophyll (the green pigment) breaks down, revealing the underlying carotenoids (orange and yellow pigments). This process requires specific conditions, primarily warmth, sunlight, and time. When these conditions aren't met outdoors, it's time to lend Mother Nature a helping hand.
Why Your Pumpkins Might Still Be Green: Common Scenarios
Before diving into the ripening strategies, it’s helpful to understand why your pumpkins might not be turning orange naturally on the vine. Several factors can interrupt their typical growth cycle:
- The Uninvited Arrival of Jack Frost: This is perhaps the most common culprit. A sudden, dramatic drop in temperature or an early frost can halt the ripening process almost overnight. Pumpkin plants are sensitive to cold, and once frost hits the foliage, the plant often dies back, ceasing nutrient and energy flow to the fruit.
- Pests, Diseases, or Accidental Damage: Insect infestations, fungal diseases, or even an accidental snip of the vine can prematurely kill the pumpkin plant. When the vine dies, the fruit loses its primary source of nourishment and often struggles to ripen further.
- Insufficient Sunlight or Warmth: Pumpkins thrive in long, warm, sunny days. If your growing season has been unusually cool, cloudy, or if the plants are overly shaded by dense foliage, the ripening process can be significantly delayed.
- Planting Too Late: If pumpkins were planted late in the season, they simply might not have had enough time to fully mature and ripen before the cold weather sets in.
Regardless of the reason, seeing your hard work potentially go to waste can be heartbreaking. The good news is that partially ripe, and even quite green pumpkins, can often be encouraged to finish ripening with the right approach.
Outdoor Strategies for Encouraging Pumpkin Ripening
If you still have some time before a hard freeze, it's often best to let pumpkins continue ripening on the vine. Nature's way is always optimal, and every extra day connected to the plant helps in developing flavor and color. Here's how to optimize their outdoor environment:
- Prune Away Obstructing Leaves: Sunlight is crucial. If dense foliage is casting shadows on your developing pumpkins, carefully prune away any leaves that are directly blocking sunlight from reaching the fruit. This allows more warmth and light to hit the pumpkin's surface, accelerating the breakdown of chlorophyll.
- Rotate for Even Sun Exposure: Just like a rotisserie chicken, your pumpkins can benefit from turning. Gently rotate your green pumpkins every few days to ensure all sides receive adequate sunlight. This helps achieve an even orange color and prevents flat, pale spots.
- Protect Against Early Frost: If an overnight frost is predicted but the daytime temperatures are still warm, you can temporarily protect your pumpkins. Cover them with large plastic sheeting, old blankets, or burlap sacks. Anchor the covers with bricks or rocks to prevent them from blowing away. Remove the covers in the morning once the danger of frost has passed to allow them to bask in the sun. For prolonged cold snaps, you might consider leaving covers on during the day if temperatures remain very low, but generally, warmth and sun are key during daylight hours.
- Improve Air Circulation: While not directly affecting color, good air circulation can prevent fungal diseases and rot, which are more likely to occur in damp, crowded conditions. Ensure pumpkins aren't resting directly on soggy soil; placing a piece of cardboard or a thin wooden board underneath can help.
Remember, success isn't always guaranteed, especially with very green pumpkins. But giving them every chance outdoors is usually the first step in how to turn pumpkins orange effectively.
Bringing Them Inside: Indoor Methods for Perfect Orange Hues
When the outdoor growing season is definitively over, or if you're dealing with immediate threats like animals or impending severe frost, it's time to bring your green pumpkins indoors. This strategy is incredibly effective and often yields beautifully colored pumpkins, making it a reliable trick for Turn Green Pumpkins Orange Indoors: Easy Frost-Proof Trick.
The secret lies in recreating the ideal conditions for ripening: warmth, light, and good air circulation.
Step-by-Step Indoor Ripening:
- Harvest Carefully: When you decide to pick your green pumpkins, ensure you leave a few inches of stem attached. A snapped stem can create an open wound, making the pumpkin more susceptible to rot and significantly reducing its storage life and ripening potential.
- Clean Them Up: Gently wash off any dirt or debris from your pumpkins. A soft cloth and a little water are usually sufficient. Avoid harsh scrubbing, which can damage the skin.
- Find a Warm, Sunny Spot: This is the most crucial step. Place your pumpkins in an area that receives ample warmth and indirect sunlight. Ideal locations include:
- Near a sunny window (not directly in scorching sun, which can cook them, but in a well-lit spot).
- On a warm deck or patio (if temperatures remain above 50-60°F / 10-15°C consistently).
- In a spare room or garage that stays warm but doesn't get excessively humid.
- On a kitchen counter, away from direct heat sources that could dry them out too quickly.
- Ensure Good Air Circulation: This is vital to prevent mold and rot. Avoid piling pumpkins on top of each other or placing them in enclosed, damp spaces. If you're ripening several, arrange them so air can circulate freely around each one. You can even place them on a rack or elevated surface to maximize airflow.
- Rotate Regularly: Just like outdoors, turning your pumpkins every few days ensures even exposure to ambient light and warmth, helping the entire surface to develop that rich orange color. Pay special attention to any greener spots.
- Be Patient: This process doesn't happen overnight. Depending on how green your pumpkin was to begin with, it could take anywhere from a few days to a few weeks for it to fully turn orange. Monitor them regularly for color change and any signs of spoilage.
Maximizing Your Success: Additional Tips & Considerations
While patience and consistency are your best tools for how to turn pumpkins orange, a few extra insights can significantly improve your chances of success:
- The "Stage" of Greenness Matters: A pumpkin that is mostly yellow-green with just a few green patches is much more likely to ripen successfully than one that is solid, deep green. The ripening process has already begun in the former, making it easier to complete. Very dark green pumpkins have a lower success rate, but it's still worth trying!
- Check for Soft Spots and Damage: Before you begin the ripening process, inspect your pumpkins thoroughly. Any soft spots, deep cuts, or bruised areas are invitations for mold and rot. These pumpkins might not be good candidates for long-term ripening or storage, though they could be used quickly if the damage is minimal.
- Consider Variety: Smaller pumpkins, like Munchkins or pie pumpkins, often ripen more quickly and reliably than very large varieties due to their smaller mass. However, the methods discussed here are effective for all sizes, from decorative gourds to large Jack-o'-lantern contenders.
- Post-Ripening Care: Once your pumpkins have achieved their desired orange hue, they can be enjoyed for decoration or culinary purposes. For decorative use, storing them in a cool, dry place can extend their lifespan. For cooking, use them relatively soon after ripening, as their storage life might be slightly shorter than those ripened fully on the vine.
- Don't Be Afraid to Experiment: Every pumpkin and every environment is slightly different. Don't hesitate to experiment with different spots in your home or varying light conditions to see what works best for your specific situation. For a deeper dive into combined strategies, explore resources on How To Turn Green Pumpkins Orange: Inside & Outdoor Methods.
Conclusion
Watching your homegrown pumpkins transform from stubborn green to glorious orange is one of autumn's great satisfactions. While Jack Frost and other garden challenges can throw a wrench in your plans, knowing how to turn pumpkins orange using simple warmth, sun, and time-tested techniques means you don't have to give up on your harvest. Whether you're carefully protecting them on the vine or bringing them indoors for a cozy ripening period, a little effort can ensure your fall decor and culinary creations are adorned with perfectly colored pumpkins.
